How to Grow Cannabis Indoors: Your First Tent, Done Right
If you want to grow cannabis indoors, the tent is not the hard part. The hard part is resisting the urge to buy everything at once. Most first grows fail not from a lack of gear, but from too many variables changing at the same time. This guide is the setup I’d hand a friend: small, controllable, and forgiving enough that your first harvest teaches you something instead of just disappointing you.
Before you start, check the rules where you live. Home grow limits differ a lot from place to place, and you’re responsible for staying inside them.
Why grow cannabis indoors in a tent?
Outdoors, the sun does a lot of the work for free, but you’re at the mercy of rain, pests and nosy neighbours. A grow tent gives you a light-proof, reflective box where you decide the day length, the temperature and the airflow. That control is the whole point. Home growing has moved well beyond a niche hobby: New Frontier Data estimates that around three million US cannabis consumers already grow their own (New Frontier Data). Most of them started with one small tent.
Pick the right size: 2×4 or 3×3 beats “go big”
For a first run, a 2×4 ft or 3×3 ft tent is the sweet spot. It fits in a closet or the corner of a spare room, it’s easy to keep at a stable temperature, and one quality light covers it evenly. Bigger tents need bigger lights, bigger fans and more money to fix mistakes. Learn in a small space, then scale.
- 2×2 ft: one plant, very tight on space and hard to keep cool.
- 2×4 ft: two plants comfortably, the best first tent for most people.
- 3×3 ft: one to four plants with good airflow around each.
- 4×4 ft and up: once you’ve finished at least one full grow.
The four things that actually matter
1. Light
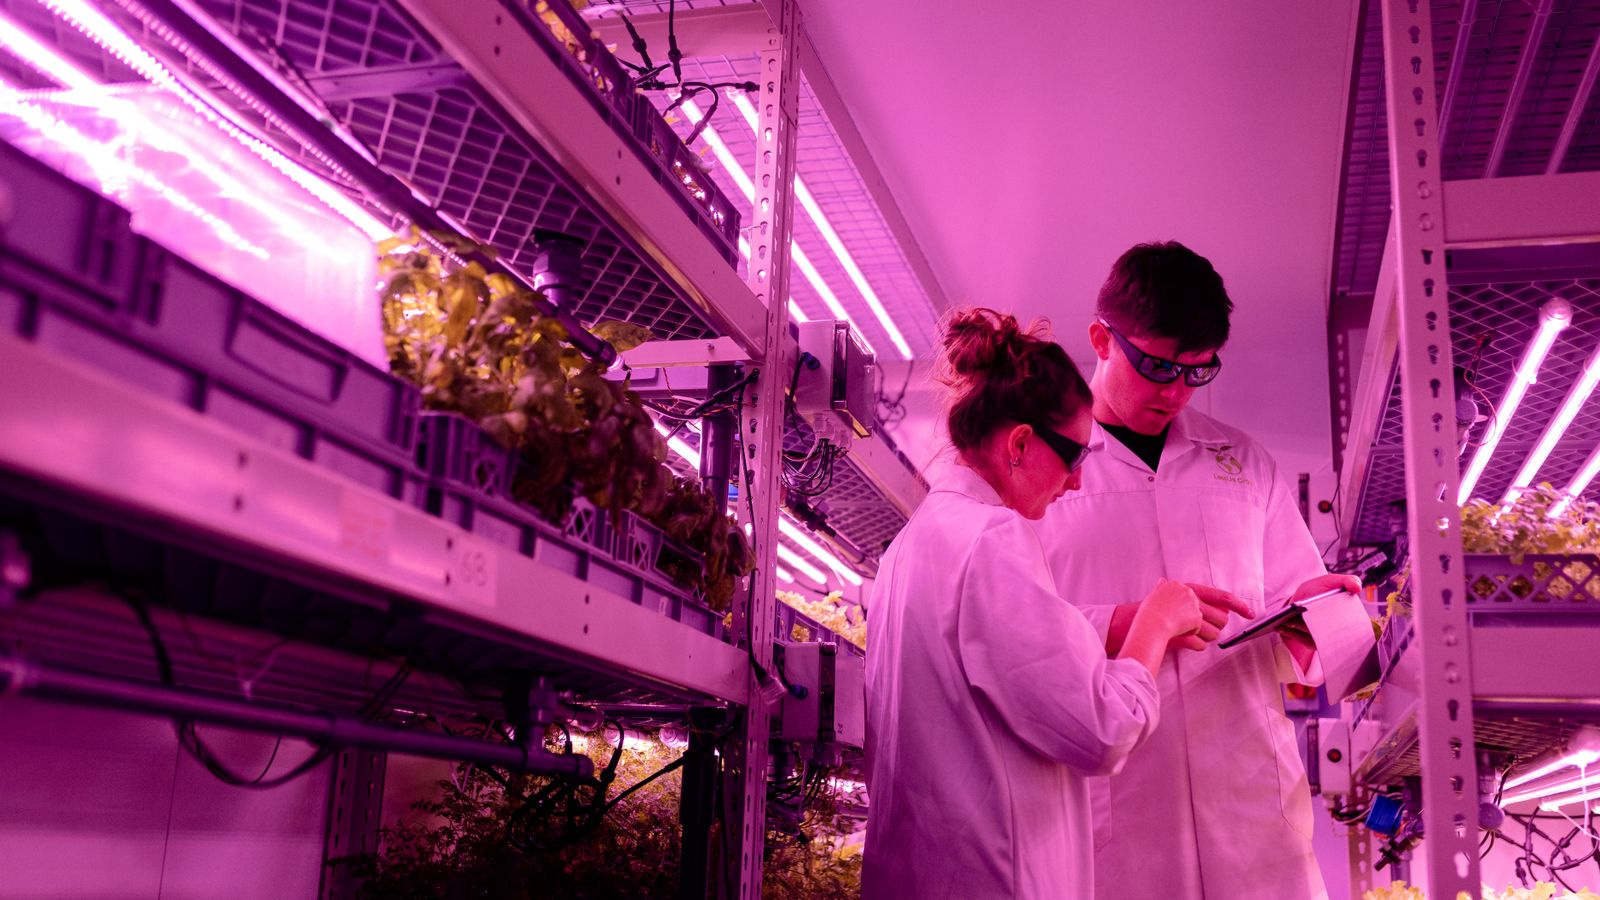
A full-spectrum LED bar or board light is the default today, and for good reason: it runs cooler than old HPS lamps, uses less power, and delivers even coverage. Ignore marketing wattage; look at the real power draw and the PPFD map. As a rough guide, seedlings want 200-400 µmol/m²/s, vegetative plants 400-600, and flowering plants 700-1,000. A light that draws around 30-40 watts per square foot of canopy is a sensible target for flowering. We’ll go deeper on this in our upcoming guide to LED grow lights.
2. Air
Every tent needs an inline exhaust fan, a carbon filter and at least one small clip fan inside. The exhaust pulls out heat and humidity and keeps fresh air coming in through the lower vents; the carbon filter scrubs the smell before it leaves. Size the fan so it can swap the tent’s air in roughly a minute or two, then use a speed controller so it isn’t running flat out all the time. The clip fan should make leaves gently flutter, never whip.
3. Climate
Aim for 75-82°F (24-28°C) with lights on and no more than about 10°F cooler with lights off. Humidity should sit around 55-65% for young plants, 45-55% in veg and 40-50% in flower, dropping lower in the last couple of weeks to protect dense buds from mold. A cheap digital thermo-hygrometer at canopy height is the most useful tool you’ll buy.
4. Root zone
Beginners do best in a quality soil or a soil-less mix in 3-5 gallon fabric pots. Fabric pots let roots breathe and make overwatering much harder. Keep watering simple: water until about 10-20% runs out the bottom, then wait until the pot feels noticeably lighter before watering again. In soil, a pH of roughly 6.0-7.0 keeps nutrients available; in coco or hydro, aim for 5.6-6.2.
A simple light schedule from seed to harvest
- Seedling (1-2 weeks): 18 hours on, 6 off, light raised high or dimmed.
- Vegetative (3-6 weeks): 18/6. This is where you shape the plant with topping or low-stress training.
- Flowering (8-10 weeks for most photoperiods): switch to 12/12 with completely uninterrupted darkness. Even small light leaks can stress plants.
- Final week: keep conditions steady and get ready to dry and cure.
Autoflowering plants ignore these switches and flower on their own clock. If you’re undecided which type suits you, our comparison of autoflowers and photoperiods is coming up later in the series.
Mistakes I see in almost every first tent
- Loving plants to death with water. Droopy, dark leaves on wet soil usually mean too much water, not too little.
- Feeding too early. Most decent soils carry enough nutrition for the first few weeks. Start at a quarter to half of the label dose.
- Chasing numbers instead of watching plants. Meters help, but the leaves tell you more. Look at your plants every day.
- Ignoring light leaks. Check your tent zips and vents in the dark during flowering.
- Changing five things at once. Adjust one variable, wait a few days, then judge.
What a realistic first harvest looks like
Don’t measure your first grow by yield. Measure it by what you learned: how fast your plants drank, how the tent behaved on hot days, when you first noticed problems. A healthy 2×4 tent can produce a very respectable harvest, but the real win is a second run that’s twice as smooth as the first.
Your starter checklist
- Grow tent (2×4 or 3×3 ft)
- Full-spectrum LED with a published PPFD map
- Inline exhaust fan, carbon filter and ducting
- Clip fan and a digital thermo-hygrometer
- 3-5 gallon fabric pots and a quality soil mix
- pH pen or test kit and a simple base nutrient
Browse our grow supplies to fill the gaps in your kit, and if you have a question about an order, our help center covers shipping, payment and minimum orders. Next up in this series: how to germinate cannabis seeds without losing half of them.