
Tiger Sawgill: How to Grow This Bold, Heat-Tolerant Gourmet Mushroom
Tiger Sawgill (Lentinus tigrinus) is the mushroom I recommend to growers who are bored of oysters but not ready for the patience shiitake demands. It’s handsome, with a pale cap freckled in dark, tiger-like scales; it’s vigorous; and it handles warm rooms that would make many gourmet species sulk. If your grow space runs warm most of the year, this might be your new favourite.
What makes Tiger Sawgill different
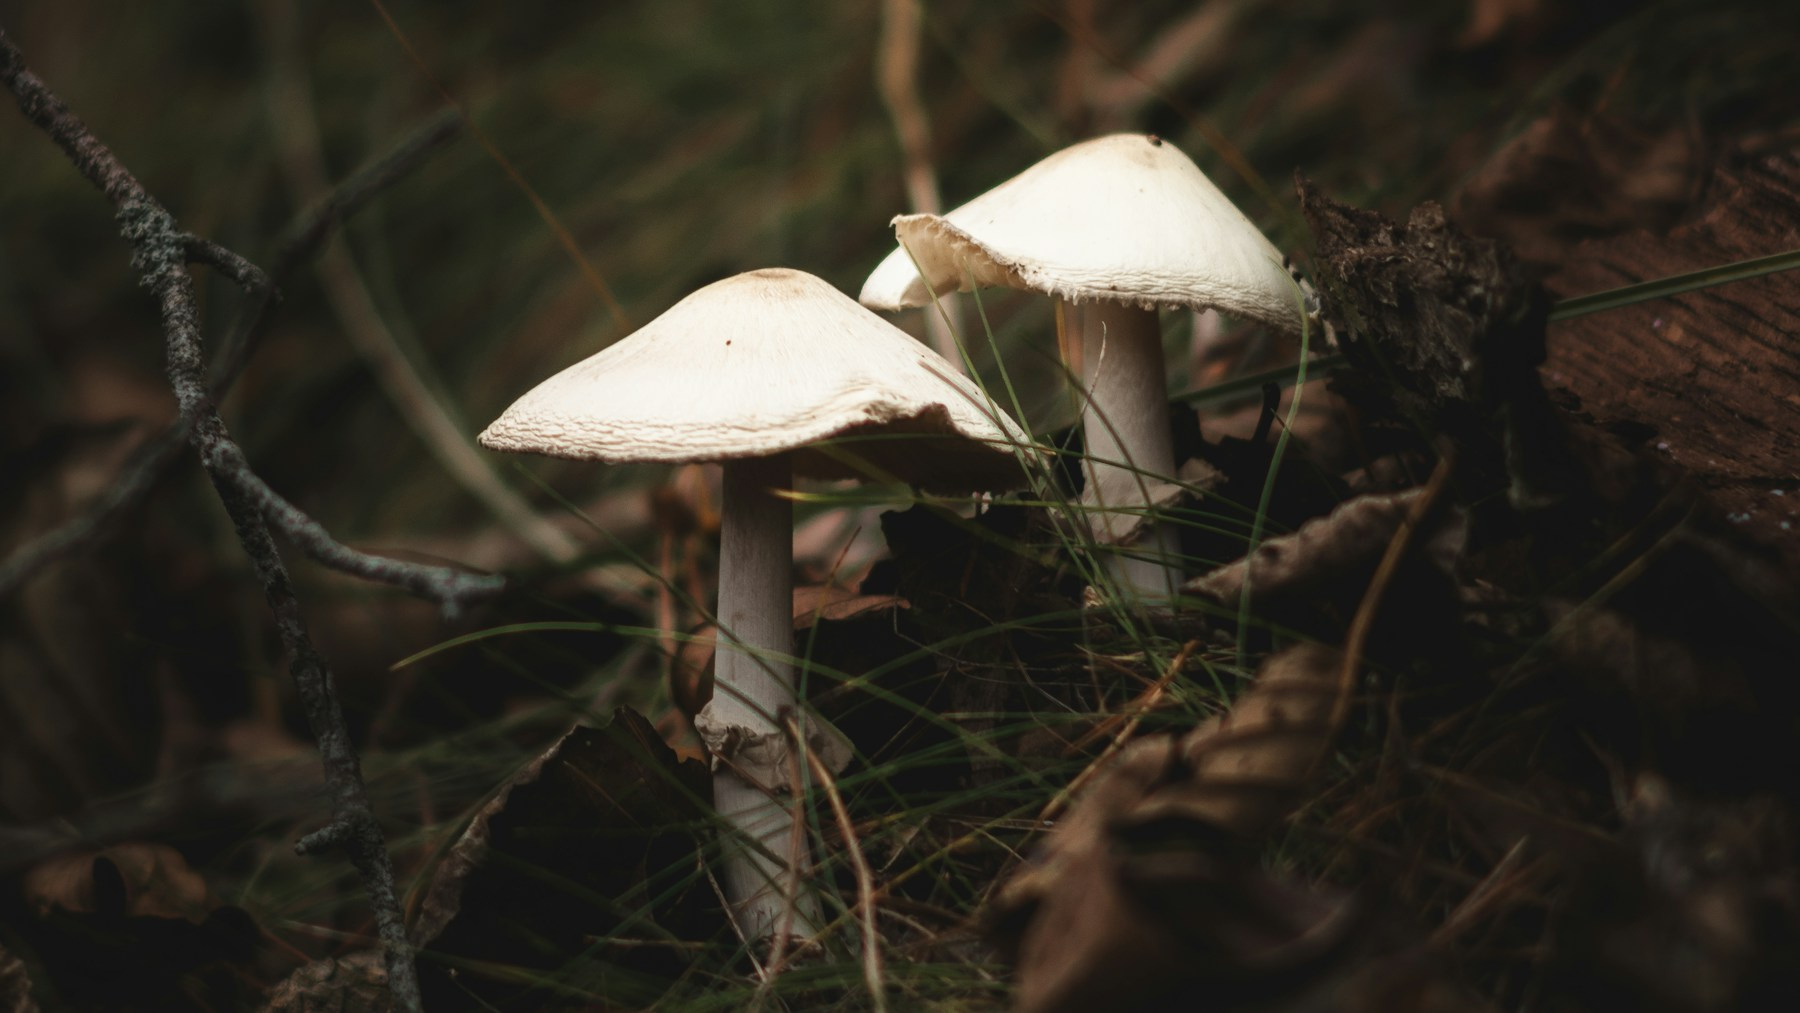
- Looks: creamy white caps covered with fine brown-black scales, and gills with a saw-toothed edge (that’s where “sawgill” comes from).
- Habitat: a wood-lover. In the wild it breaks down dead hardwood, so it thrives on hardwood-based substrates.
- Temperament: an aggressive coloniser that tolerates warmer conditions than many gourmet species.
- Kitchen: firm and meaty when young, becoming tough as it ages, so timing your harvest matters.
Two ways to start: grain spawn or liquid culture
If this is your first time, start with ready-made Tiger Sawgill grain spawn. It’s already fully colonised, so you can mix it straight into a substrate and skip the sterile grain stage. If you’re comfortable with clean inoculation, Tiger Sawgill liquid culture lets you produce your own spawn on your own schedule. Not sure which fits you? Our guide to liquid culture vs grain spawn breaks it down.
Choosing a substrate
Because Tiger Sawgill is a wood-decomposer, it does best on hardwood-based mixes, such as supplemented hardwood sawdust. Sterilised, ready-to-use bags save a lot of work for home growers: no pressure cooker, no guessing at moisture content. Whatever you use, the substrate should feel moist but not dripping when squeezed.
Step-by-step: from spawn to harvest
- Prepare a clean space. Wipe down surfaces and your hands with isopropyl alcohol. Clean technique matters even with fast species.
- Spawn the substrate. Break up the grain spawn and mix it evenly into the substrate. A generous spawn rate, roughly 15-20% by volume, helps it colonise quickly and leaves less room for contaminants.
- Colonise in the dark. Seal the bag (filter patch up) and keep it somewhere warm and dark. You’ll see white mycelium spreading within days; full colonisation usually takes a few weeks.
- Trigger fruiting. Once the block is fully white and firm, cut a small X or slit in the bag. Give it fresh air, high humidity and indirect light.
- Mist, don’t drown. Keep the air humid, around 85-95% relative humidity, with light misting of the air around the block rather than soaking the pins.
- Harvest young. Pick clusters while the caps are still slightly curled under and the flesh is tender. Twist and pull the whole cluster cleanly from the block.
Common problems and quick fixes
- Green or black patches: that’s contamination. Remove the bag from your grow area and dispose of it sealed. Next time, increase spawn rate and clean more thoroughly.
- Long, thin stems and tiny caps: not enough fresh air. Increase air exchange.
- Cracked, dry caps: humidity is too low. Mist the air more often or use a humidity tent.
- Pins that stall: usually a sudden change in conditions. Keep things steady for a few days.
In the kitchen
Young Tiger Sawgill has a firm, almost chewy bite that holds up beautifully in stir-fries, soups and stews. Slice thinly, sear hard in a hot pan, and finish with garlic and soy or a squeeze of lemon. Always cook mushrooms thoroughly before eating, and only eat mushrooms you have positively identified.
Ready to try it? Pick up grain spawn or liquid culture, and browse substrates and bags in our grow supplies. For a broader look at the cultivation stages, North Spore’s growing guides are a great resource.